Sunday, July 28, 2024

Slowdown Sunday


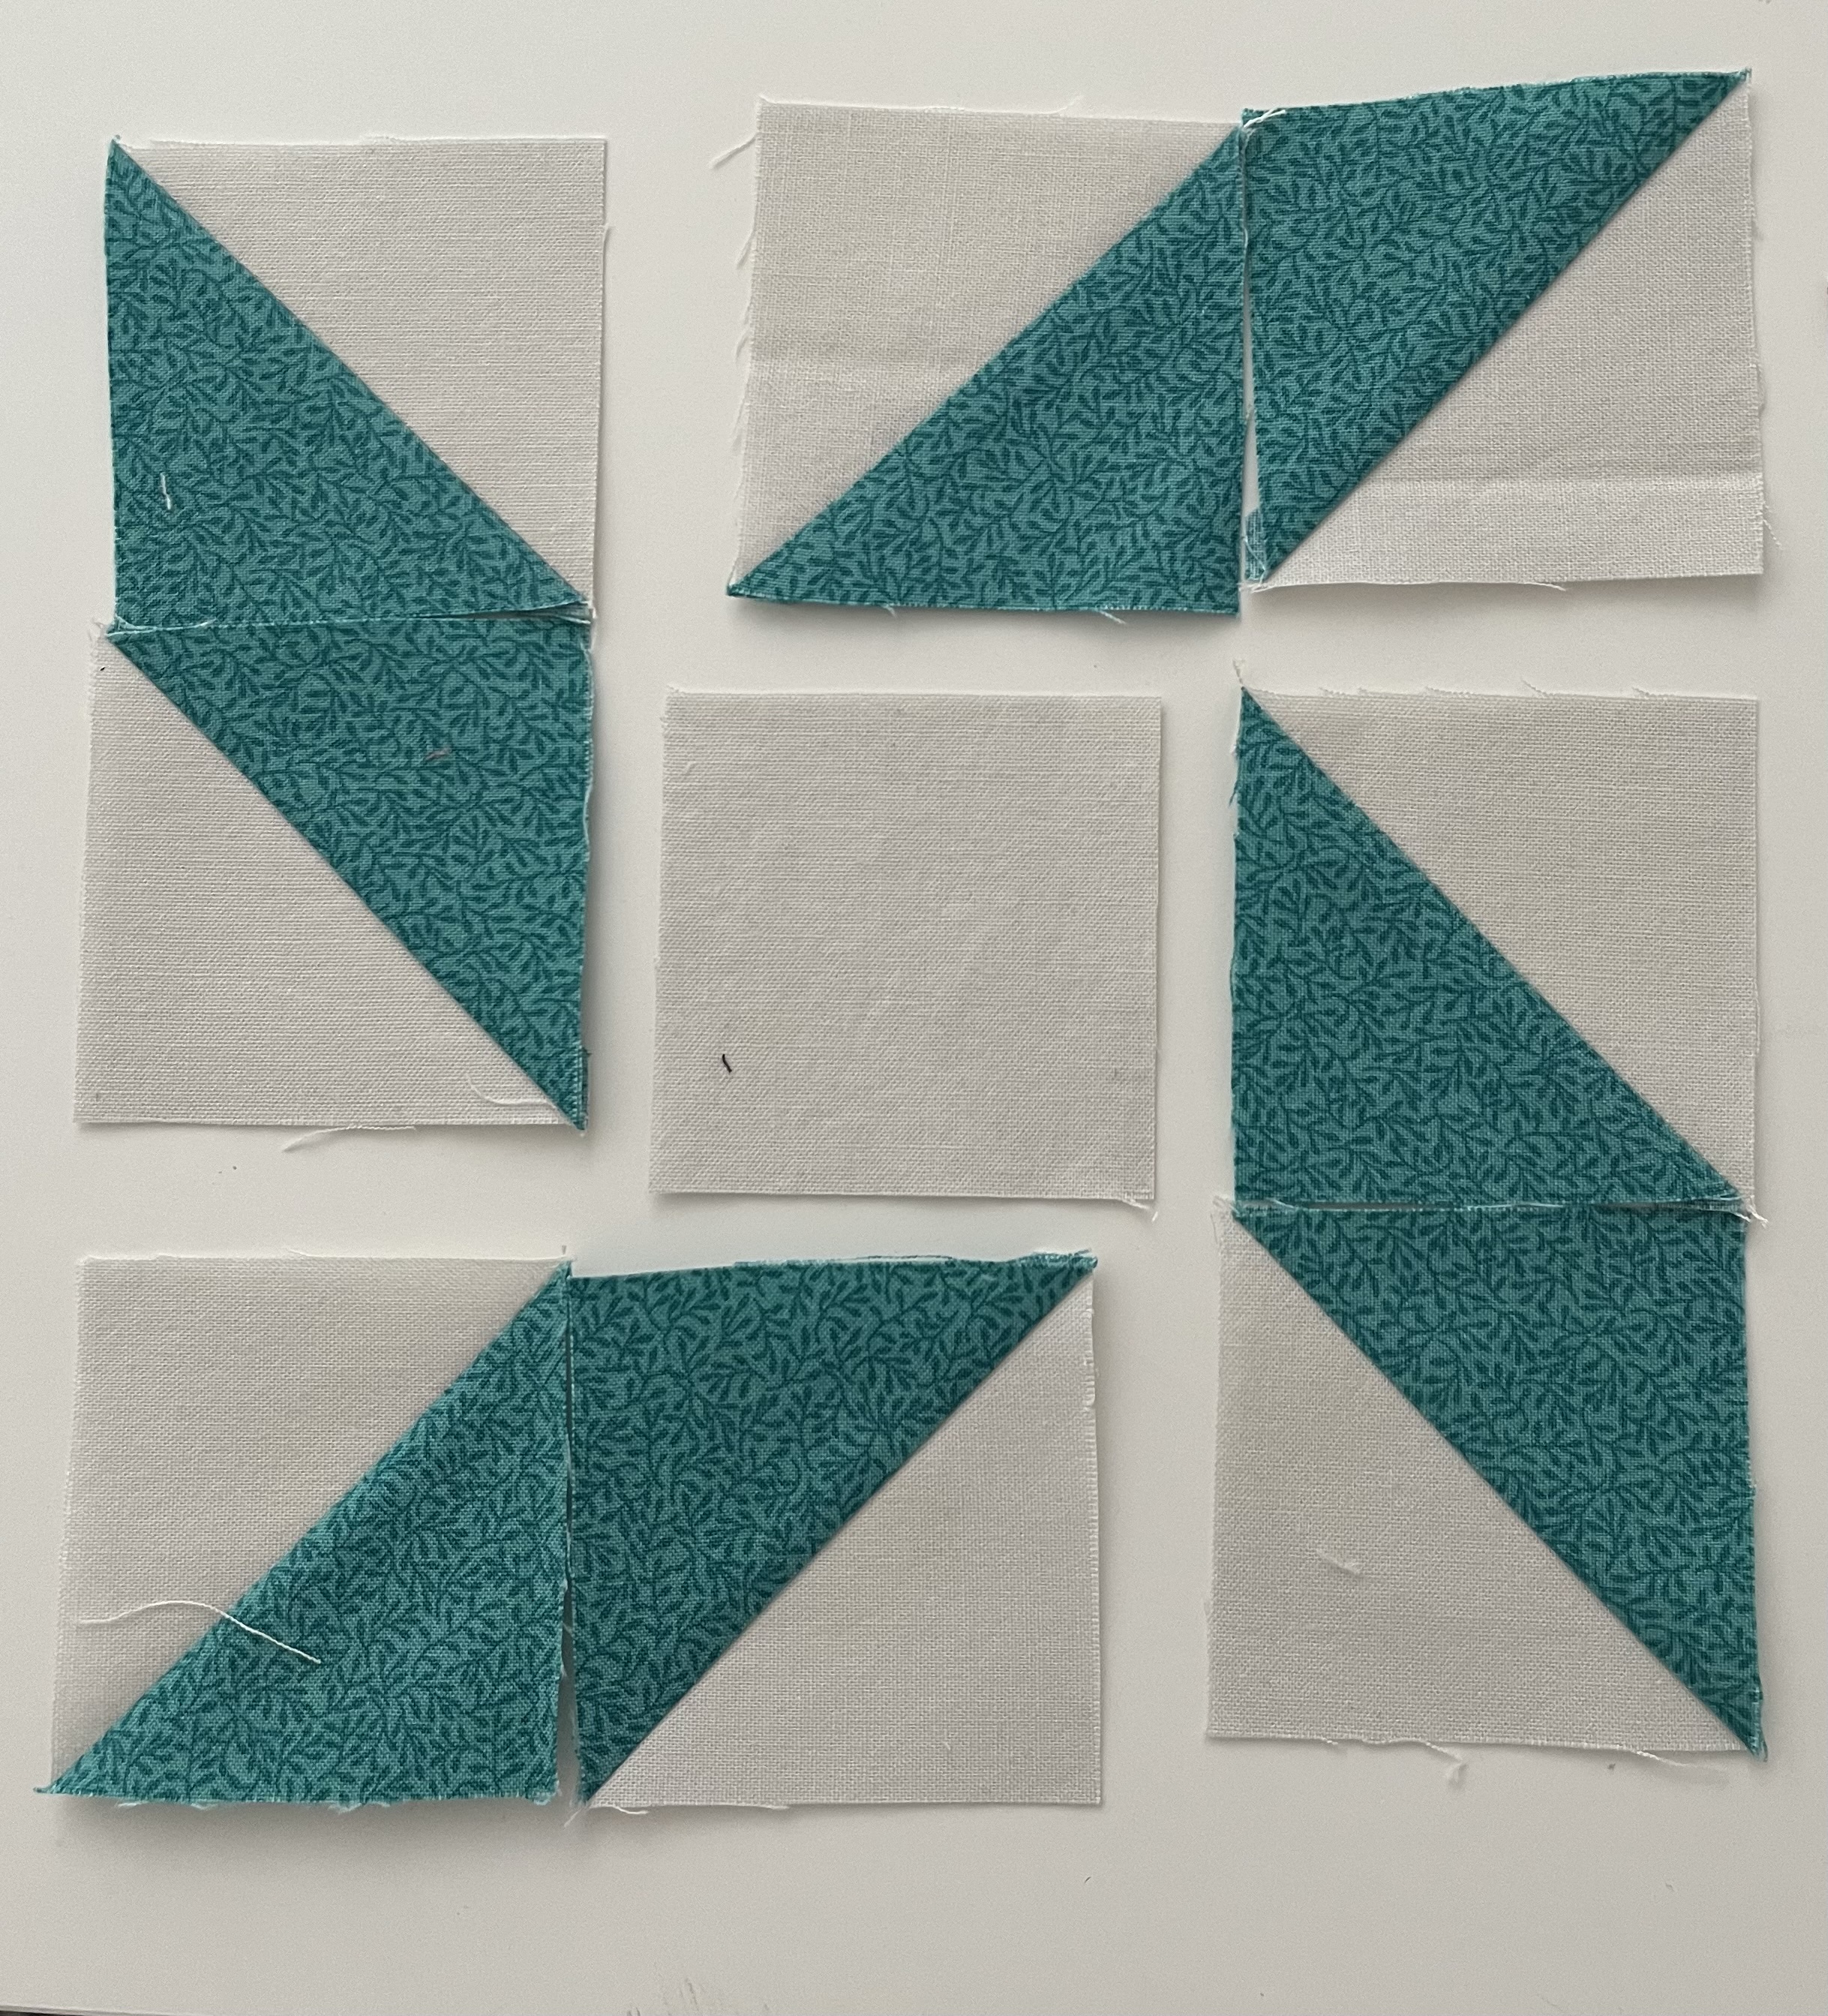
I was so excited to get the blue row sewn on last night that I wanted to finish up the purple row today. The blocks are not sewn together quite yet, but they are all ready and stitched to the white joining triangles. I started a bit of cleanup of the wooden bowl where I have been throwing all the pieces as I work on this quilt. It was a mess! I did a quick sweep and started to collect together like piles of random scraps in the sewing studio. I feel that I should definitely do a clean up this week before I am back at school full time again. 
We got new bedroom furniture last week, so that room is a mess as well. We took our oak bedroom set to Virginia because it had a mountain vibe, so we had been using Sydney's old set for a while. She wants that back now for an unfurnished college apartment, so we picked out something new with a bit more of a beach feel.  Before you say, "Wait, that doesn't look like a mess!"  I threw everything that needs to be sorted into a giant stack to deal with later. We need a mirror or some art to put over the dresser, and perhaps some pillow shams. Kurt is not a fan of throw pillows, but something other than just wrinkled pillowcases would be nice. 
I have half days most of next week and then Friday is the official back to school day for everyone. It will be our first year with a new principal and assistant principle along with 7 new teachers. So much change.  Hopefully all good! For today, I am enjoying women's Olympic gymnastics and some nice relaxing EPP.  I am also headed over to Kathy's Quilts to join her weekly link up for the first time in absolutely ages!  Looking forward to catching up on other people's slow stitching.  
I just realized that I was wrong about the color for August. It is going to be orange! I worked ahead and was already in September in my head.  

Saturday, July 27, 2024

ScrapHappy Saturday - Wrapping up Aqua


It is the last aqua Saturday, and somehow I am just now starting to feel the vibe.  Mostly, I have been busy trying to finish things up before school starts. 

I got the dark blue row finished for the hexie quilt last night before Friday margaritas!  It just needs to get sewn on. When I moved this quilt from the design wall to the floor, it opened up  more real estate on the design wall. 

There are still two partial rows hanging out next to the leader and ender collection of plus blocks. I've got more to add to the pink and purple when the dark blue is complete. No rush here, I have probably been working on this quilt for the better part of a decade. I started trying out some border ideas. Again, no rush here. 

Then I used the newly opened up space to pull out a UFO. These are 5 inch blocks I think. I might mix up the churn dashes with a couple of similar patterns. If I prep some of the cross blocks those would also work great as leaders and enders for next month. 

I am trying to finish more than I start right now knowing that things will get busy when school starts again. I have started some graduate classes, so I am trying to make sure that I have some nice simple projects without deadlines that I can chip away on slowly.  

How is your aquamarine month wrapping up? August will be orange! It is one of the few colors left, so I know that most of you had already guessed that!


Saturday, July 20, 2024

ScrapHappy Saturday

Sorry for the late start today. The best part of summer vacation is that I keep forgetting what day of the week it is! I spent this week diligently working to finish off some projects before the big transition of back to school happens.  

All of the  blocks for Hen & Chicks are done and scheduled to post. I will let them hang out on the deign wall and play with block arrangement for a few days. Most of the family is flying this weekend, so I am waiting anxiously to more airport updates. So far Sydney landed safely in Vegas for a birthday party, Anna took off on time to babysit in Boston, and Kurt was delayed for about an hour on the way home. While all that happens, I sit quietly stitching dark blue hexies to add another row.


Sunday, July 14, 2024

Restitching Sunday


The Massachusetts block has been bothering me since yesterday. When Julie left a comment with a link to a layout for a Split Ohio Star, I knew that I needed to remake the block to figure out how to get the color placement right.  I had wanted to use two colors to get a more clearly defined pattern, so just finished redoing the block, and I am much happier with it now. I will go back and update the post as well as the google doc and PDF directions on the RSC24 Sampler tab now. Be warned though - I have worked ahead on the August blocks to try to get some things done before school starts again in a couple of weeks. If you don't want to know the August color, please don't go and check out the sampler quilt page!


Saturday, July 13, 2024

Hen & Chicks July Block 4 - Eccentric Star

 Please keep scrolling down for todays linky party. I wanted to get these sampler blocks posted sooner rather than later. 


Another quick and simple one, just HST units with a background square. I like the motion though and it would be fun in a kids quilt.  


Use your favorite HST method to make 8 HST units. The only other thing you need is a background square.  That was easy!
The layout is the tricky part here. Notice that a dark edge touches the center square on all sides and the dark edges touch other dark edges.  It is really just a friendship star with HST units replacing background squares in the corners.  
Double check the layout by making sure that the diagonal seams run parallel to each other in each rhombus. I am digging up all my old geometry words today!
Now just sew as you would any nine patch. Press the seams toward the center square where there is less bulk. I think this would be cute in a scrappy version with each spur a different color. It could also be made using flip and sew triangles on rectangles of fabric. There would be fewer seams but more wasted fabric. 


Hen & Chicks July Block 3 - Thrifty


This was a real palate cleanser after that last block. It is nice and simple, but with fun fabrics, it can be an effective block. 


Just squares and strips this time. You could use all squares, but a couple of strip sets will save some sewing time. I chose one patterned fabric and one solid. Notice that one square matches the strip set while the other 4 are in a contrasting pattern. 

Sew your strips together and press toward the tea. I like using two smaller strip sets on this one, because they can be layers and cut at the same time to make things even faster. 
Sub cut your strip set so that each unit is the same width as your original strip. As an example, these are 1.5 inch strips, so I cut them to 1.5 inches. 

Pair up your two patches to make four patches. I suggest spinning the seams on the back to reduce bulk, but this is a nice simple block, so it shouldn't be an issue.  
Now place the four patches in each corner and the block with the patterned fabric in the center edges. That leaves the center square open for your solid to match the four patches which gives you a nice visual X. This one would make a great alternate block and could make a nice frame around other busy blocks. 

Here is your final block. Sometimes I enjoy the simplicity of these quick and easy ones. 


Hen & Chicks July Block 2 - Massachusetts

I am going to post the sampler tutorials this  morning, so scroll down for the weekly linky party.  

Massachusetts is what happens when you cross an Ohio Star with a split nine patch.   I also see it listed just at a Split Ohio Star

Use the method of your choice to make HST units. The method of sewing squares yields an even number of HST units and you will need three for this block. I find that awkward, so I saved the extra for the smaller block and just trimmed it down. You can use the same fabric for the QST and HST or try two different shades as I did. 


In addition to your three HST blocks, you will need 4 QST units and a square each of background and teal fabrics. I will go through the QST method again, but if you made the last block, you are an old pro by now. Start by putting the larger squares of background and teal right sides together and drawing a line along the diagonal of the back. 


Sew a quarter of an inch on either side of your drawn line before cutting along that line to separate the fabric into two HST units.  


Now press and trim dog ears before rotating one block and putting it right sides together with the other. 
Repeat the process of drawing a line and sewing a quarter of an inch on either side of the line. 


Cut along the drawn line and open each half up to press and remove dog ears. I suggest spinning the center seam as you would for a four patch to reduce bulk while pressing.  

Now you have all the subunits you will need: 4 QST units, 3 HST units and one square each of your two fabrics. 

Now for layouts! This is a bit tricky, so please refer back to the photo below and take a quick photo to make sure it looks Ohio Starlike before you sew everything together. 
Sew this together as a nine patch and press away from the QST units as much as possible. 
  

Here is the finished block.  I can see a lot of potential for secondary patterns in a full quilt of this block. Imagine a fun patriotic print for the star points and then alternating red and blue accent fabrics. You could do any two color quilt in a similar way - think Christmas and school colors for example. The fun of sampler quilts is trying new patterns to see what you like before you commit to an entire quilt of blocks.  


ScrapHappy Saturday - Summer Ocean of Blue-Green

I have come to really love turquoise since we moved to the ocean. Ironically, the east coast of Florida isn't a teal kind of sea. It is more of a traditional blue and brown kind of beach here. 

Still, I have been trying to add aqua accents in the house where I can. Our last house was very oak and orange, and it has been a slow transition. Most of that furniture moved to the mountains, and the beach house is slowly evolving. I am working on painting this table with mismatched chairs. Furniture refinishing is not my strength for sure, but everything came from goodwill, so it won't hurt anything to try. So far there is too much red in the teal, I was going for a subtle distressed kind of feel and ended up with stark streakiness. I was hoping to help it blend in with the floors which are some kind of exotic hardwood with lots of red in it. I will fine tune it a bit before sealing everything up. 

More importantly though, I will finish the tutorials for the July Hen & Chicken blocks. I sewed the last of the blocks yesterday and got the first set of directions posted. It won't take long to get the last 3 ready to go. I hope you have lots of greenish blues ready to sew today. Misterlinky is below, please share your progress with us all. 


Friday, July 12, 2024

Hen & Chicks July Block 1


Ohio Star is a simple classic quilt block which uses quarter square triangles (QST). These are pretty simple units. Just like half square triangles, but with one more step. There are, of course, several ways to make them. You could use a specialty ruler such as the companion angle which is also used to make flying geese. You could take squares and cut them in half twice. 
I am going to use the draw down the center of square and sew before cutting method because it avoids the stretchy bias. It does require two sizes of squares, which I usually avoid, but I think it is the best method for the QST.  


Cut two each of background and teal fabric in the larger square size and then 4 background and 1 teal in the small square size.  The rule for QST blocks is that you add 1.25 inches to the finished size of the unit. As an example, for the 6 inch block, the finished unit is 2 inches, so you would cut the large square to 3.25 inches. There is absolutely no harm in cutting the squares bigger and trimming them down at the end. I usually have 3.5 inch squares precut and hanging around in my scrap bin. It makes more sense to trim them down after sewing to get nicer edges and cleaner seams than to trim then down to start and then hope that you sew every thing perfectly along the way. With diagonal seams like these, a little bit of trimming and the end can help with that quest for perfection.  

Layer the teal and background squares right sides together and use a pencil to draw a line from corner to corner along the diagonal of both background squares. 

Sew a quarter of an inch to the right and left of that drawn line and then cut on the drawn line to divide each pair of squares into two.  Press the seams toward the teal and trim the dog ears to make 4 HST units.

Now take two pairs of HST units and stack them right sides together with the top square rotated so that the background on the top square is touching the teal of the bottom square. I tried to stagger them a bit in the photo so that you could see the arrangement.  
Draw another line from corner to corner on the top HST unit perpendicular to the seam.  Make sure that the seams nestle snugly in the center. Pin if you are worried about the squares slipping.
 
Now sew again, a quarter of an inch to either side of the drawn line. Cut again along the drawn line and open the units up to reveal 4 quarter square triangles. Press and trim the dog ears while you admire just how cute and versatile this unit is.  
Seriously adorable! 
Now just arrange your QST units in the center of each side of your nine patch so that the background points to the teal center square and then use a background square in each corner.  Sew as any old nine patch, pressing away from the QST units to reduce bulk. 

There you go, the simplest version of Ohio Square. I also see these with the innermost triangle in a contrasting color, and I like the way those look even better.  I just try to keep colors fairly simple in rainbow scrappy quilts as there is already plenty going on.  This would be a great spot for a bit of contrast or accent though in a full quilt of this block.