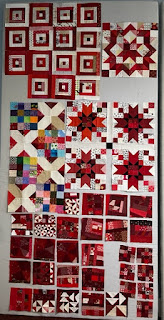
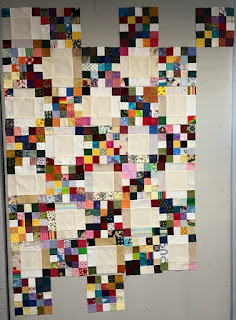
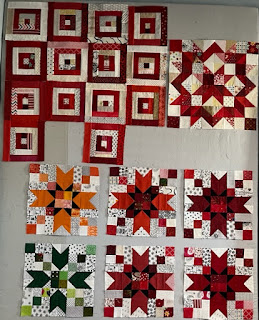
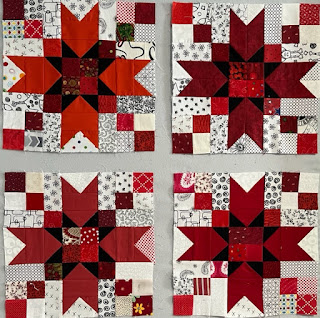
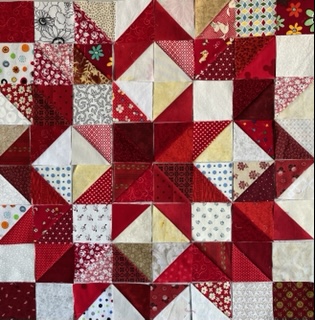
I started with a courthouse steps block for my 1.5 inch strips this year, but as I started making test blocks, I decided to do a bulls-eye layout. To get the final design, I will make half of them with dark centers and half with light centers.
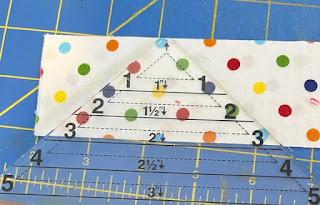
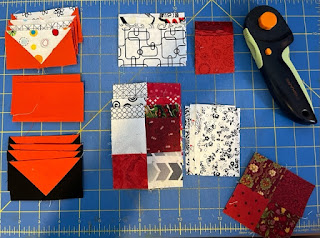
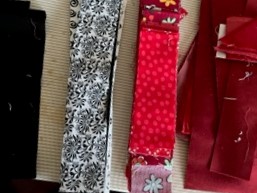
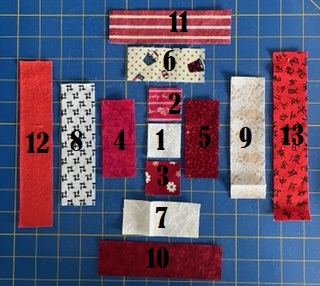
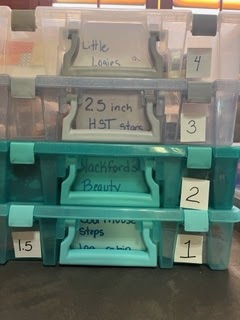
Each block has 13 pieces, but they are all rectangles of increasing lengths cut from 1.5 inch strips. That makes it easy to collect and organize. The length are 1.5, 3.5, 5.5 and 7.5 inches.
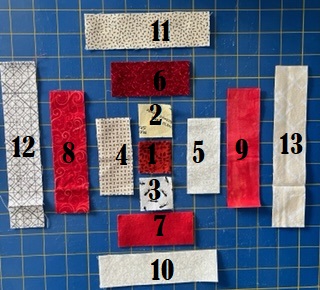
1.5 inch squares - 1 white, 2 dark
3.5 inch strips - 2 white, 2 dark
5.5 inch strips - 2 white, 2 dark
7.5 inch strips - 2 dark
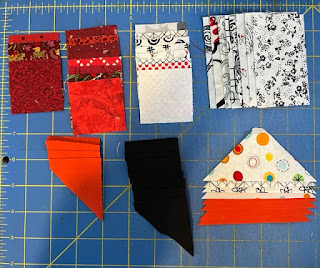
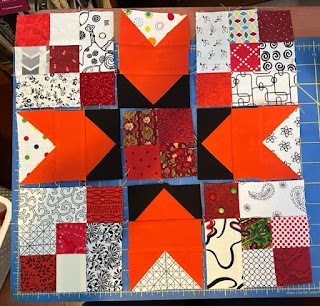
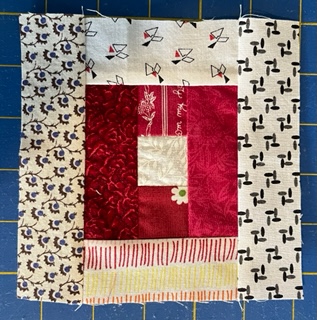
Here are all 13 pieces in a blow up of the layout.
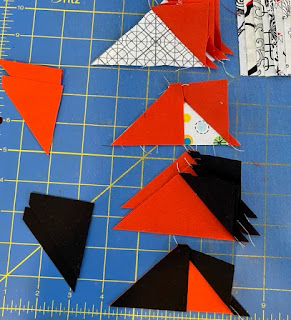
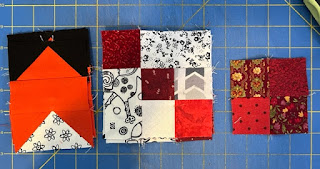
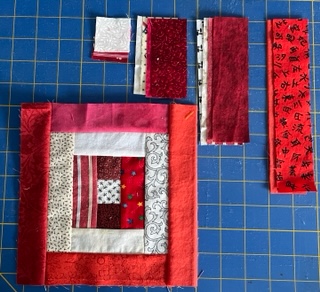
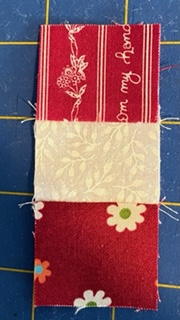
Start with the center light square and sew a red square to either side. The nice thing about the courthouse steps layout over the more traditional log cabin set up is that you can sew two strips before needing to press. The pressing direction isn't supe important because there aren't any interlocking seams, so I just generally press away from the center of the block.
Finish round 1 by adding 3.5 inch strips of dark to either side of the center.
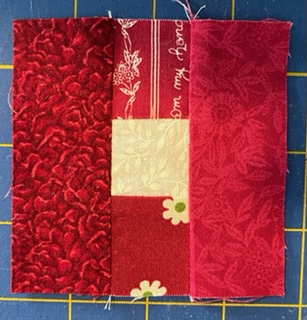
Begin round 2 by adding a white 3.5 inch strip to either side of round 1. Notice that you are sewing onto the pieced side and not onto the unpieced rectangles.
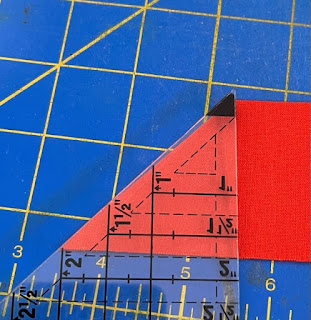
Finish round 2 by adding 5.5 inch strips of light to either side of your block. Keep your size correct by using the cut strip to make sure the pieced unit is the right size. I always figure that the freshly cut strip is more likely to be the correct size than the pieced unit, so I use it a a guide.
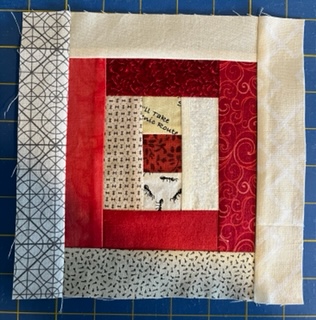
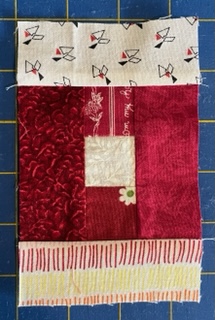
Round 3 begins by adding 5.5 inch strips of dark to the top and bottom of your block. Press each round before adding another pair of strips.
Round 3 is finished by adding 7.5 inch strips of dark to either side. Your unfinished block should be 7.5 inches.
My plan is to make 5 dark and 5 light blocks each month which will give me 100 blocks before the end of the year.